
Why automation works for saving and debt
Willpower is unreliable. When money sits in a checking account, it tends to get spent, on small purchases, unexpected costs, or just the general drift of daily life. Automation removes that vulnerability by moving money to savings or toward debt the moment your paycheck arrives, before the balance feels available to spend.
This approach is sometimes called "paying yourself first," and the underlying logic is straightforward: if the transfer happens automatically, you are not making a decision about it each month. That consistency is what makes automation genuinely useful, not the size of any individual transfer.
Research from behavioral economics consistently finds that default options shape outcomes. When saving is the default, more people save. When debt payment is the default, fewer payments are missed. Setting up automation is, in effect, setting a better default for your own finances. For a broader look at how daily habits quietly affect savings outcomes, see habits that quietly stall savings progress.
This article is general financial information and education, not personalized financial advice. For decisions specific to your circumstances, consult a licensed financial professional.
What you need before you start
Setting up financial automation takes less than an hour, but a few items need to be in place first.
What you will need
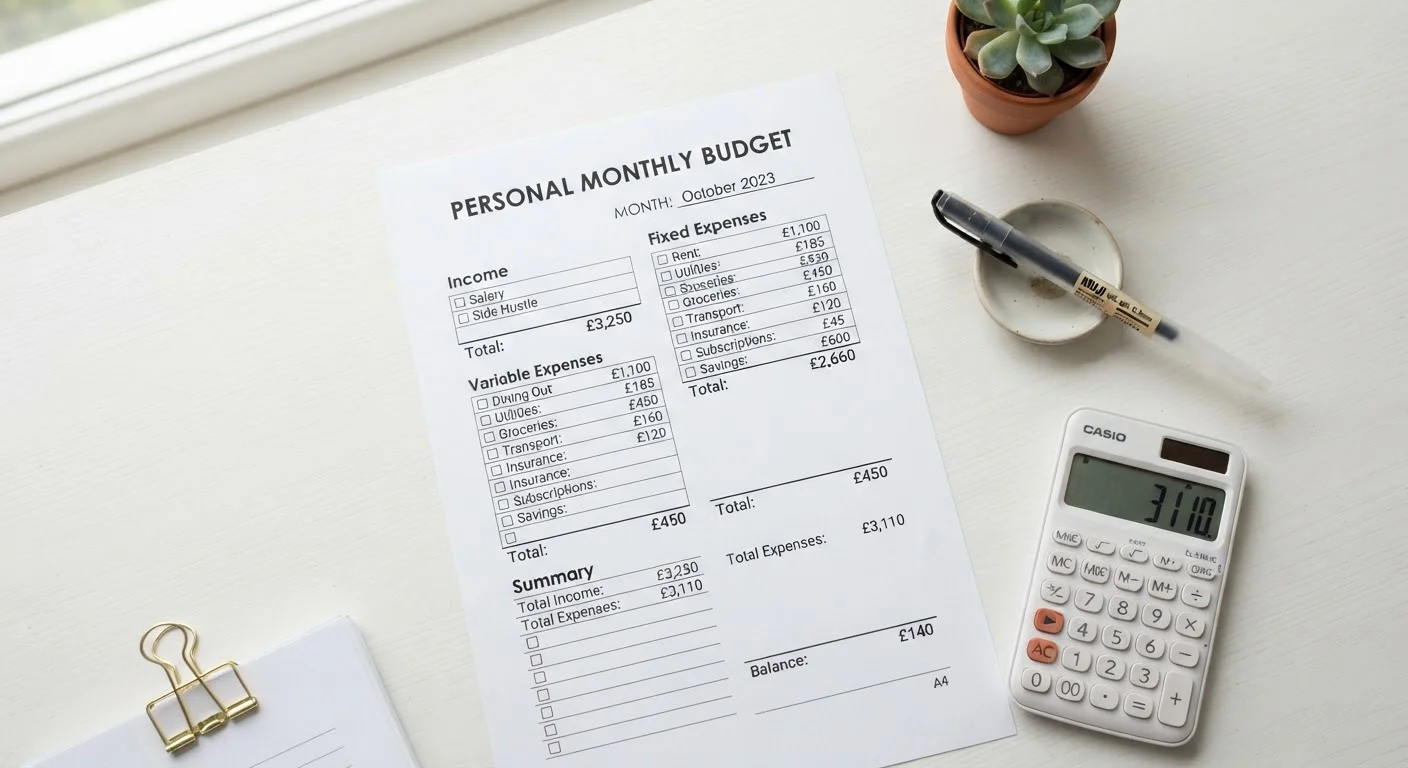
If you are not yet tracking where your money goes each month, pairing automation with a budgeting tool helps you spot whether the automated amounts are realistic. The getting started with a personal budget app walks through linking accounts and reading your spending data. For the fundamentals of building a workable budget, the budgeting basics hub is a practical starting point.
Step-by-step: setting up your automation
Follow these steps in order. Each one builds on the last, and you can pause between them without losing progress.
List every savings goal and debt obligation
Write down each savings goal (emergency fund, vacation, down payment) with a target dollar amount and a target date. Then list every debt: balance owed, minimum monthly payment, interest rate, and due date. This inventory is the foundation for every automated transfer you will set up.
Prioritize an emergency fund if you do not have one. A common starting target is one month of essential expenses, with the longer-term aim of three to six months. Having this buffer prevents debt from growing when an unexpected cost hits.
Identify your pay date and cash-flow timing
The most reliable moment to trigger an automated transfer is within one to two days of your paycheck hitting your account. Log into your bank and confirm the exact date your direct deposit typically arrives. If you are paid biweekly, note that two months each year will include a third paycheck, which can be a natural opportunity to boost savings or make an extra debt payment.
If your income varies month to month, set your automated amounts based on your lowest typical paycheck rather than your average. You can always transfer more manually in higher-income months. See budgeting on a biweekly paycheck for strategies on matching pay cycles to monthly bills.
Set up automatic transfers to savings
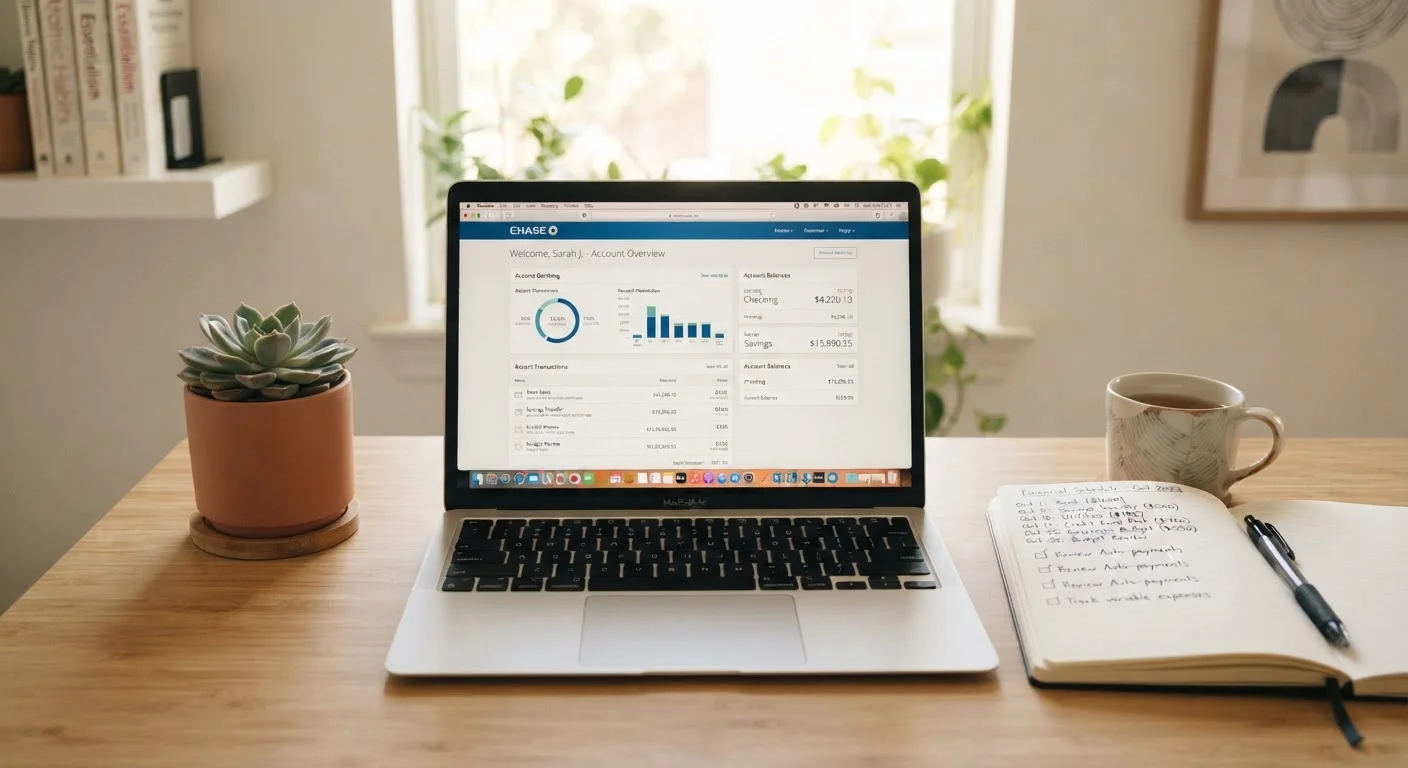
Log into your bank's online portal and navigate to the transfers or automatic payments section. Set a recurring transfer from your checking account to your savings account for the day after your paycheck arrives. Start with an amount that feels sustainable, even $25 or $50 per pay period, rather than an amount that forces you to transfer money back when expenses arrive.
If your employer offers direct deposit splitting, you can direct a fixed percentage of each paycheck straight to a savings account before it ever reaches checking. This option, available through your payroll or HR system, is arguably more friction-free than a bank transfer because the money never appears in your spendable balance.
Schedule automatic debt payments
For each debt, log into the lender's website or app and set up autopay for at least the minimum payment due. Most lenders allow you to choose the payment date; align it with two to three days after your pay date to ensure funds are available. Confirm that autopay is active by checking your account settings, not just your email confirmation.
If you want to pay more than the minimum, set the autopay amount to a fixed higher figure. Specify in the lender's system that any amount above the minimum should be applied to principal, not to future payments. Some servicers, particularly student loan servicers, default excess payments to advancing the next due date, which reduces the interest savings you would otherwise gain.
Verify and document everything
After setting up each transfer, note the scheduled date, the amount, and the destination in your inventory list from Step 1. Set a calendar reminder for one week after your first automated cycle to log in and confirm every transfer executed correctly. Check both the sending and receiving accounts.
Keep a simple record of all automation rules. If you change banks, switch jobs, or open a new account, this record lets you recreate your setup quickly without starting from scratch.
Maintaining and adjusting your automation over time
Automation is not a set-and-forget system indefinitely. Income changes, debt balances shrink, and savings goals shift. A quick quarterly review, maybe 15 minutes, is enough to confirm that your scheduled transfers still match your current situation.
Check that automated savings amounts have kept pace with any income increases. If you received a raise, directing even half of it to savings before adjusting your spending habits prevents lifestyle creep from absorbing the difference.
For debt payments, confirm that your automated amount covers at least the minimum due, and increase it whenever your budget allows. If a debt is paid off, redirect that payment amount to the next balance rather than letting it dissolve into spending. This approach mirrors the debt avalanche and debt snowball methods described in the complete guide to saving smarter and eliminating debt.
If your finances feel stretched despite automation, the steps in what to do when debt feels unmanageable cover options for readers carrying a heavier debt load. Once your automation is stable, building your first long-term financial plan is a natural next step.