
Why repair method matters
Drywall damage ranges from a small nail hole left after removing a picture to a fist-sized opening from a doorknob strike. Using the wrong repair method for the size of the damage leads to compound that cracks, patches that sag, or seams that telegraph through paint. Matching the repair to the damage size saves time and produces a result that holds up.
The wall's location also matters. High-traffic areas such as hallways and door frames take more abuse after the repair, so using fiberglass mesh tape and adequate compound thickness there is worth the extra drying time.
Check for wiring before cutting drywall
Before cutting into any wall or ceiling, turn off power to nearby circuits and use a stud finder with AC wire detection to check for electrical cables. Cutting into live wiring is a serious shock and fire hazard. If you suspect wiring or plumbing is behind the damaged area, consult a licensed electrician or plumber before proceeding.
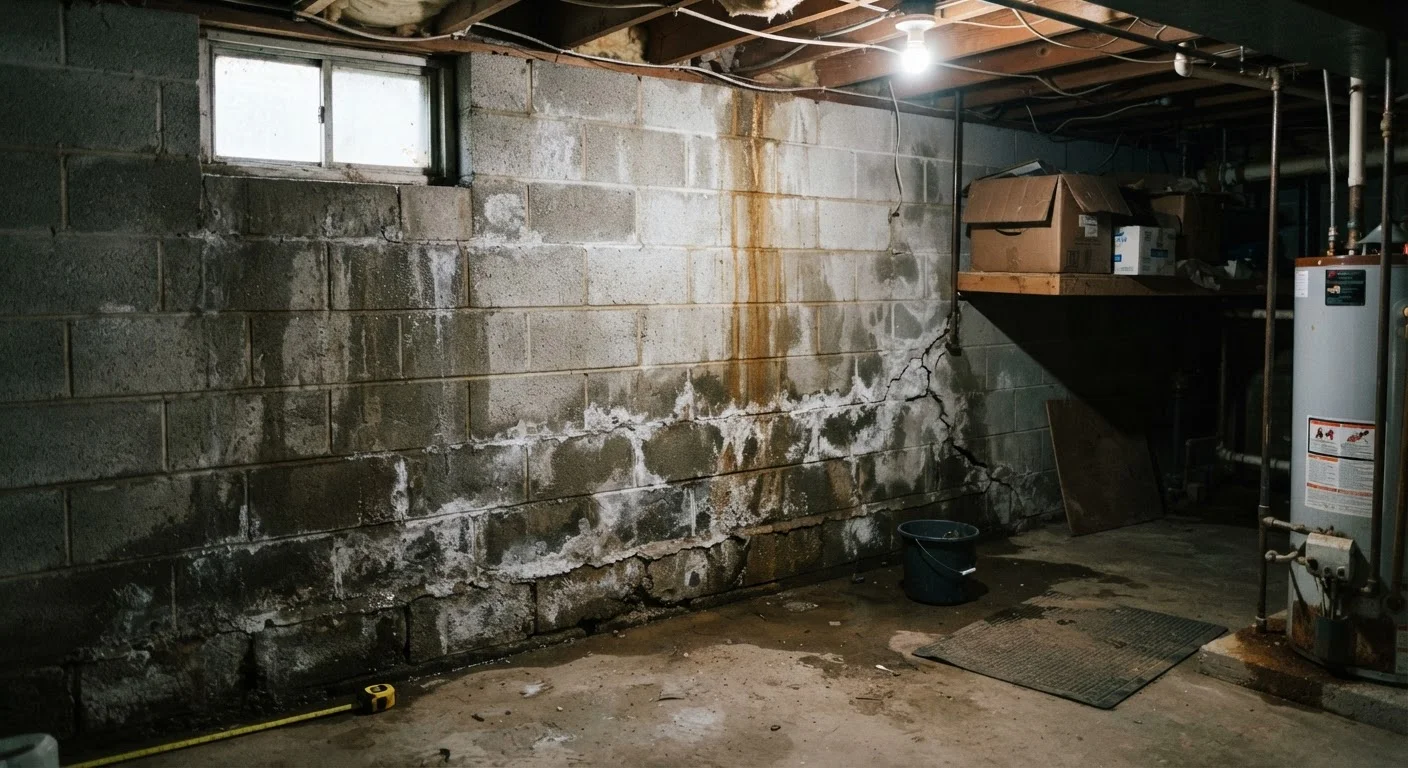
Before gathering materials, check whether any of the damage involves corner bead, a water stain, or a soft, crumbly texture around the hole. Water damage requires fixing the moisture source first. Repairing over active moisture or mold-stained drywall produces a patch that will fail and can mask a larger structural problem.
What you will need
Gather your materials before starting. Having everything on hand prevents compound from drying out while you search for a tool.
Putty knife (3-inch and 6-inch)
Used to apply and smooth joint compound over small and medium repairs.
Drywall saw or jab saw
Cuts drywall cleanly when removing damaged sections for large hole repairs.
Drywall mesh patch kit
Self-adhesive mesh backing that spans medium holes without requiring a backer board.
All-purpose joint compound
The material used to fill, coat, and finish repaired areas before sanding.
120- and 220-grit sandpaper
Used to smooth dried compound, with 120-grit for shaping and 220-grit for final smoothing.
Primer
Seals the repaired area so paint adheres evenly and the patch does not show through.
Stud finder
Locates studs and checks for hidden wiring before cutting into walls.
Pre-mixed all-purpose joint compound works well for most repairs. Lightweight compound sands more easily but is less durable; standard compound is better for high-impact areas. Buy a small container for minor repairs: opened compound can dry out or grow mold if stored too long.
What you will need
Step-by-step repair instructions
Assess the damage and choose your method
Measure the hole or damaged area. Repairs fall into three categories:
- Small (nail holes, dings, cracks under 1/4 inch): fill directly with joint compound or spackle.
- Medium (1/4 inch to 6 inches): use a self-adhesive mesh patch or a California patch cut from scrap drywall.
- Large (over 6 inches): cut out the damaged section and attach a new piece of drywall to backer boards or studs.
Also check whether the damage is on a flat wall or a corner. Damaged corner bead (the metal or plastic strip protecting outside corners) needs to be re-secured or replaced before applying compound.
Prepare the damaged area
Remove any loose paper facing, crumbled gypsum, or popped nail heads. For nail or screw pops, drive the fastener slightly below the surface with a hammer or screwdriver, then drive a new drywall screw about 2 inches above and below the pop to re-secure the panel to the stud. For larger holes, use a drywall saw to cut a clean, straight-edged opening. Straight cuts are easier to patch than ragged ones.
Apply backing for medium and large holes
For medium holes, press a self-adhesive mesh patch over the opening, centered so the mesh overlaps the surrounding drywall by at least an inch on all sides. For large holes, cut two pieces of 1x3 or 1x4 lumber longer than the hole's height and position them inside the wall cavity so half of each board is behind the existing drywall. Drive drywall screws through the existing drywall into each backer board to hold them in place. Then cut a drywall patch to fit the opening and screw it into the backer boards using drywall screws spaced about 6 inches apart.
Apply the first coat of joint compound
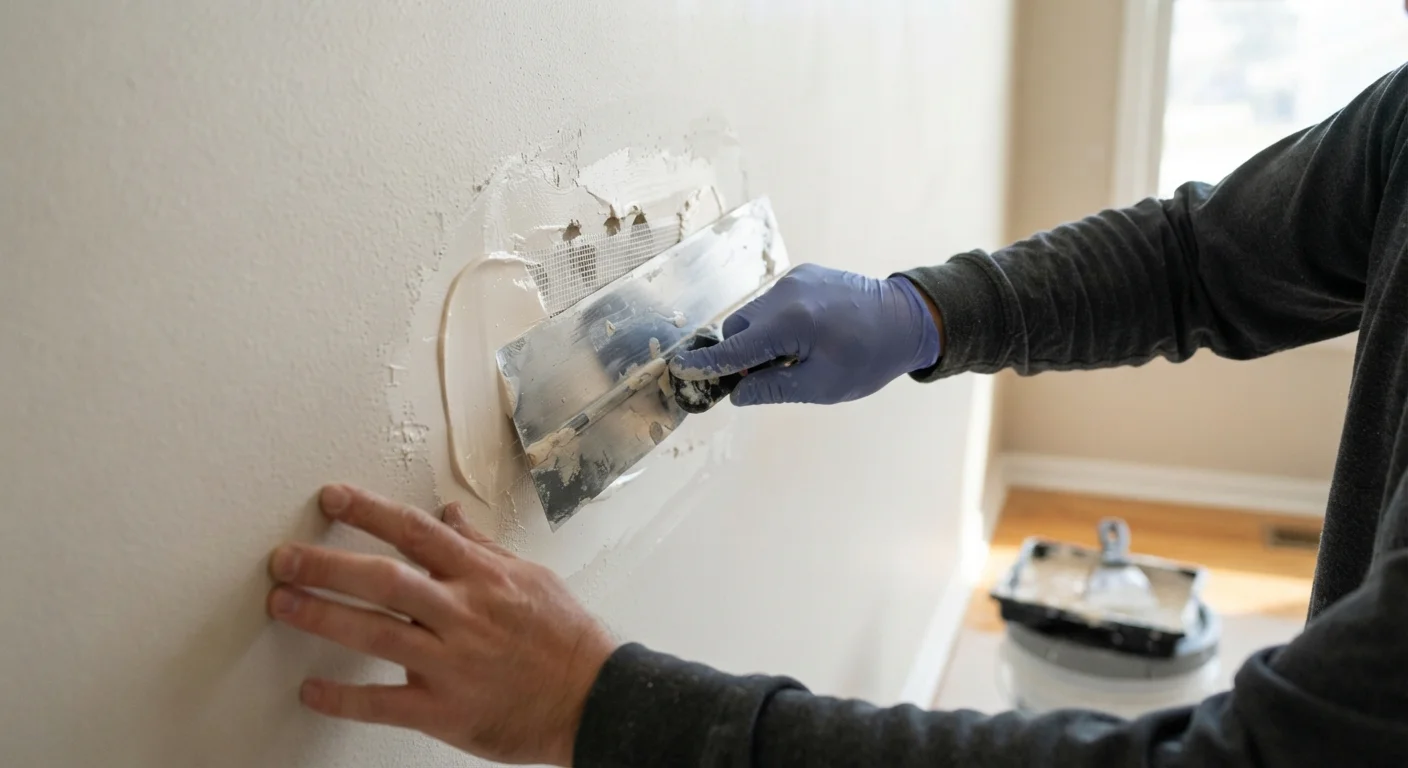
Using a 6-inch putty knife, spread joint compound over the patch or filled area. For mesh patches and drywall patches, embed paper or mesh drywall tape into the compound along the seams before the first coat sets. Press the tape flat with the knife, then cover it with a thin layer of compound. Feather the edges outward so the compound blends gradually into the surrounding wall rather than sitting up in a ridge. Aim for a coat no thicker than 1/8 inch.
Sand, apply additional coats, and sand again
Once the first coat is fully dry (white throughout, not gray), sand lightly with 120-grit sandpaper to knock down any ridges. Wipe away dust with a dry cloth. Apply a second coat, spreading it wider than the first to blend the repair into the surrounding wall. For larger patches, a third coat is often needed. After the final coat dries completely, sand smooth with 220-grit sandpaper using light circular motions. Run your hand over the area: if you feel a bump or ridge, sand more.
Prime and paint the repaired area
Apply a coat of drywall primer (or a PVA primer) over the entire repaired area and a few inches beyond its edges. Joint compound is porous and absorbs paint differently than the surrounding wall, which causes sheen variations called flashing. Primer prevents this. Once the primer dries, paint the patched area to match the wall. For the most invisible result, repaint the entire wall rather than just spot-painting the patch.
Thin your compound for the final coat
Adding a small amount of water to all-purpose joint compound until it reaches a consistency similar to thick yogurt makes it easier to spread thinly for the finishing coat. A thinner final coat sands down much more smoothly and requires less effort to blend with surrounding drywall.
Do not skip the drying time between coats
Applying a second coat of joint compound over a coat that is still wet traps moisture and causes cracking or bubbling. Wait until the compound turns from gray to a consistent white before sanding or recoating. In humid conditions, this can take longer than the package suggests.
Getting a clean finish
The most common reason a patch remains visible after painting is insufficient feathering. Joint compound applied in a tight mound over the repair creates a visible bump. Each coat should extend several inches wider than the previous one, thinning gradually at the edges so the transition to bare drywall is gradual.
Sanding produces fine gypsum dust that settles over a wide area. Protect furniture and cover HVAC vents in the room before sanding. A dust mask rated N95 or better is appropriate for this work.
If the repaired area still shows slight texture differences from the rest of the wall after priming, a light application of spray texture (available in aerosol cans matched to common wall textures such as orange peel or knockdown) can help it blend. Practice the spray pattern on cardboard first to control the amount.