
Why attic insulation matters
Heat moves toward cooler spaces. In winter, warm air generated inside your home rises and escapes through the attic. In summer, heat from a sun-baked roof pushes down into living spaces. Attic insulation slows both processes, which is why it affects comfort and energy bills across every season.
An under-insulated attic can also cause uneven temperatures between floors, ice dams along roof edges in cold climates, and HVAC systems that run longer than they should. Adding or upgrading insulation does not guarantee specific savings, but the U.S. Department of Energy notes that attics are one of the most cost-effective places to insulate in an existing home.
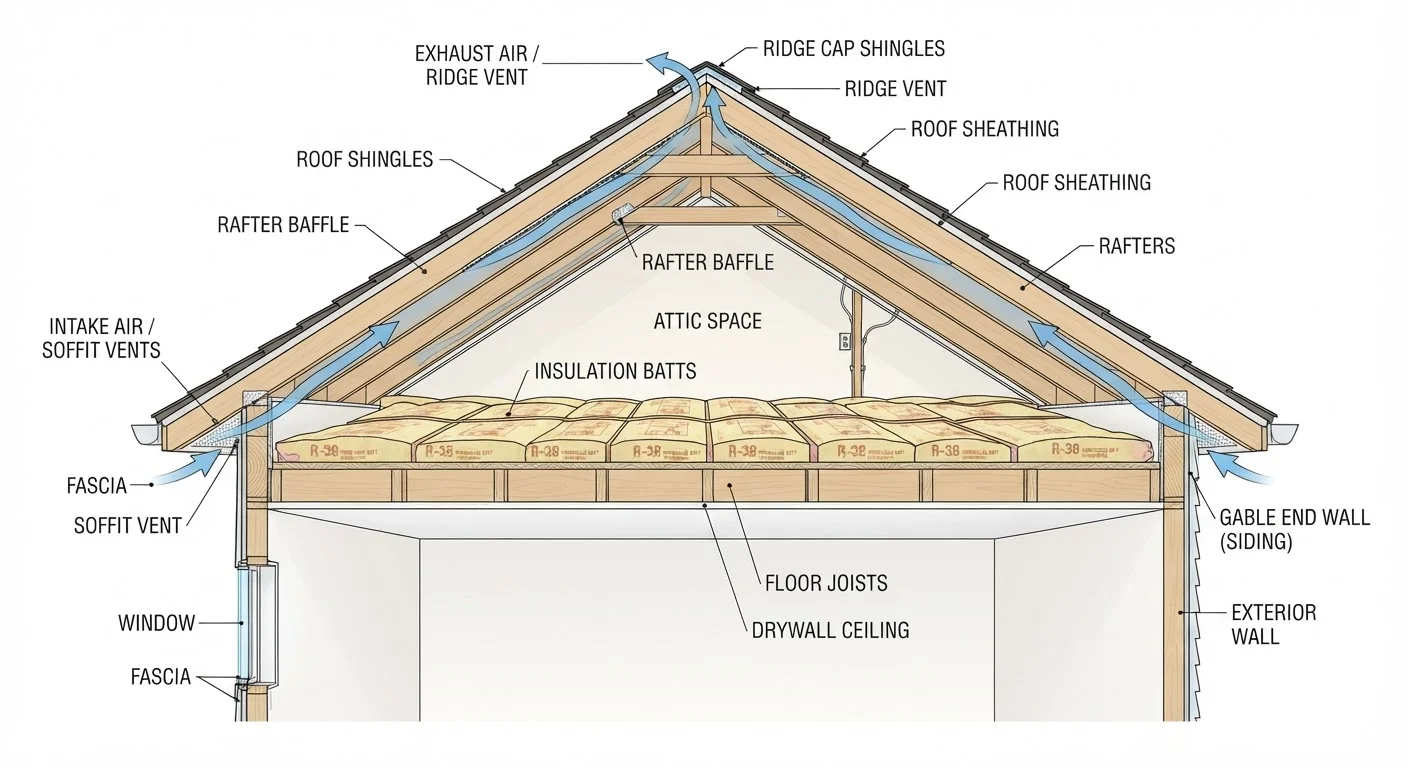
For a complete picture of how insulation and airflow work together, see attic insulation and ventilation explained. Insulation and ventilation are separate systems, and treating them as one is a common mistake.
Types of attic insulation
Three materials cover the majority of residential attic projects.
Fiberglass batts
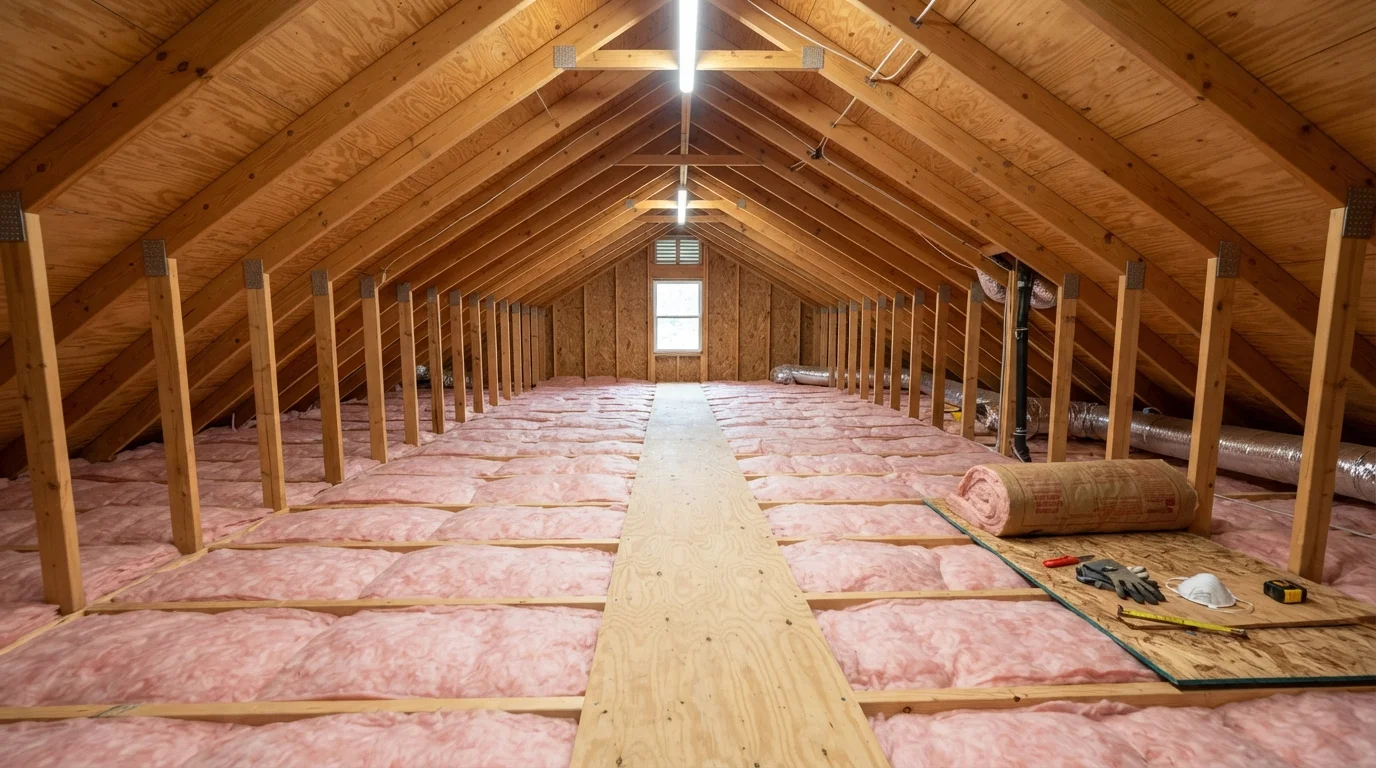
Pre-cut rolls or batts fit between standard joist spacing. They are widely available and straightforward to install for homeowners with basic DIY experience. The main limitation is coverage: batts must fit snugly without gaps or compression, because both reduce performance. Attics with irregular joist spacing or many obstructions are harder to do well with batts.
Blown-in (loose-fill) insulation
Cellulose or fiberglass loose-fill is blown into place using a rented or contractor-supplied machine. It conforms to irregular shapes and fills around obstructions, which makes it a practical choice for topping up existing insulation or working around wiring and blocking. Cellulose is made primarily from recycled paper treated with fire retardant. Fiberglass loose-fill uses fine glass fibers.
Spray polyurethane foam
Spray foam is applied to the underside of roof decking in unvented (conditioned) attic designs. It seals and insulates in one step, but it requires professional application and is significantly more expensive per square foot than batt or blown-in options. Open-cell and closed-cell foam have different R-values per inch and vapor management properties. This is not a DIY material.
Match insulation type to your attic layout
If your attic has many pipes, wires, cross-bracing, or irregular joist spacing, blown-in loose-fill will fill the space more completely than batts. Batts work best in clean, open attics with consistent 16- or 24-inch joist spacing. Mixing types is also an option: batts as a base layer, then blown-in on top to reach target depth.
R-value and how much you need
R-value measures resistance to heat flow. A higher number means more resistance. The amount you need depends on where you live. The U.S. Department of Energy divides the country into climate zones and publishes recommended R-values for each. Most attics in the continental United States fall in the R-38 to R-60 range for total installed depth, though colder climates call for the higher end.
Before adding insulation, measure what you already have. Compress-test existing batts to check if they have settled. Blown-in insulation depth is measured with a ruler against the depth markings on a reference card placed in the attic before blowing. If your current insulation is below code minimums or the Department of Energy recommendation for your zone, topping up is usually worthwhile.
For a thorough breakdown of how climate zones map to specific R-value targets, see understanding R-value and insulation performance. Local building codes may also set minimum requirements that differ from federal recommendations, so checking with your municipality before purchasing materials is a good step.
R-38 to R-60
Recommended attic insulation range for most U.S. homes
According to U.S. Department of Energy climate zone guidelines for existing homes.
~11%
Share of home heating and cooling lost through the ceiling and attic
The Department of Energy estimates this as a portion of typical residential energy loss in insufficiently insulated homes.
Air sealing before you insulate
Insulation slows conductive heat transfer, but it does not stop air movement. Gaps around electrical boxes, recessed light housings, pipe penetrations, and the tops of interior walls let warm or humid air bypass insulation entirely. Adding more insulation on top of those gaps reduces their impact only slightly.
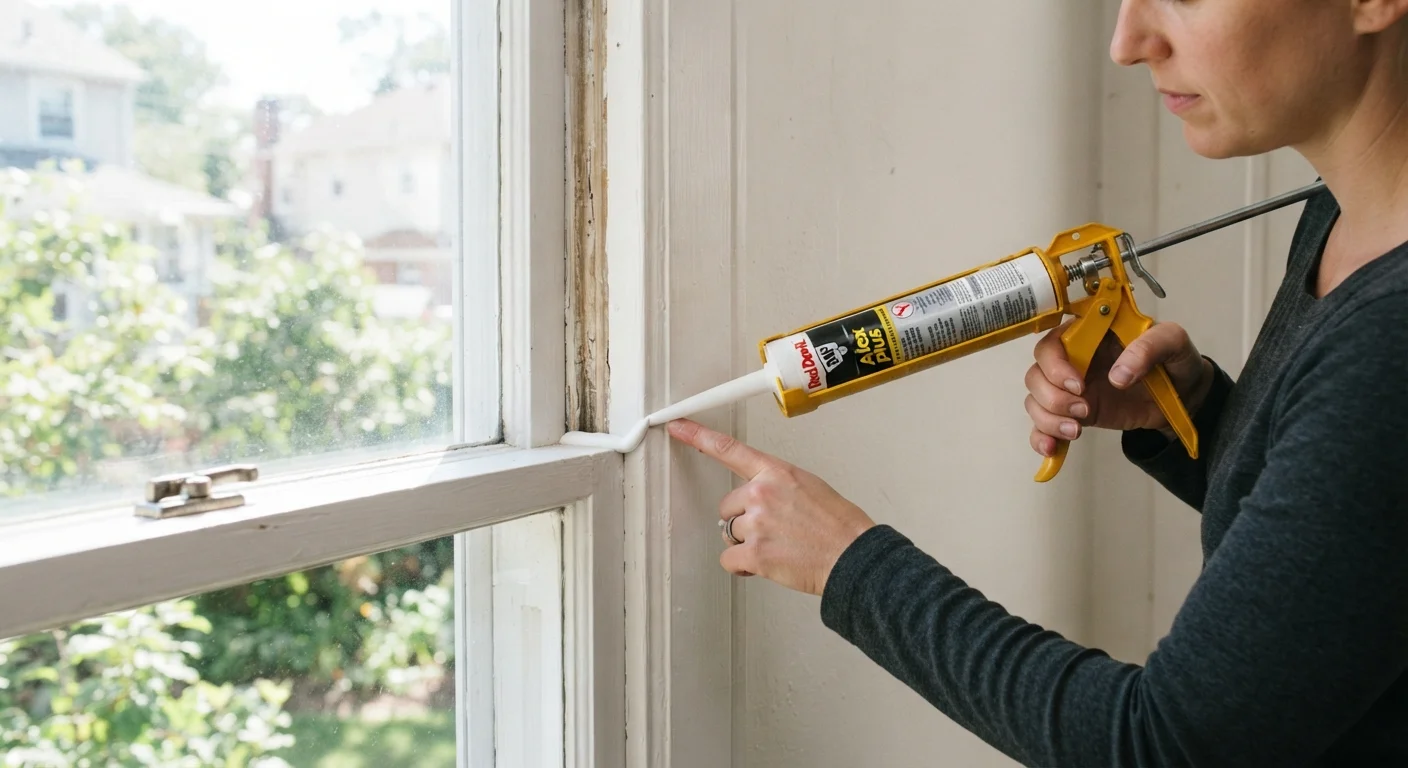
Air sealing those penetrations with caulk, foam sealant, or rigid blocking before laying new insulation makes the insulation perform as rated. This step is especially important around recessed lights, which can be a significant source of air and heat loss if they are the older non-airtight (non-IC-rated) type. IC-rated fixtures are designed to be covered with insulation; non-IC fixtures need a sealed cover box to prevent fire risk.
For related guidance on sealing the rest of your home's envelope, caulking and weatherstripping fundamentals covers air leaks around doors and windows. The same principles of sealing before insulating apply throughout the building envelope.
DIY versus hiring a professional
Adding fiberglass batts to a clean, accessible attic with standard joist spacing is a realistic DIY project for most homeowners. Topping up blown-in insulation with rented equipment is also manageable with some preparation. Both tasks involve working in a confined, poorly lit space with insulation materials that irritate skin, eyes, and lungs, so protective gear is not optional.
Spray foam application, removal of old insulation containing vermiculite (which may contain asbestos), and any work on an attic with visible mold, structural damage, or active pest activity should go to a licensed professional. Removal of suspect materials often requires testing and may be regulated under local environmental rules.
An energy auditor can assess your attic using a blower door test to identify air leakage locations and measure existing insulation performance. That information helps prioritize where money and effort will have the most effect, and some utilities offer rebates for audits or insulation upgrades.
Before renting a blowing machine, calculate the bag count using the coverage chart on the bag itself, not the machine rental guide. Manufacturers print coverage tables for specific R-values per bag on the product packaging.
Under-ordering blown-in insulation mid-project means a second trip and potential for uneven coverage if the first pass has already settled.
Use a bright headlamp with a wide flood beam rather than a handheld flashlight when working in the attic. Both hands free reduces the chance of misstepping onto drywall.
Falls through attic ceilings are a genuine injury risk. Hands-free lighting is a simple precaution that most people skip.
Safety, permits, and what to check first
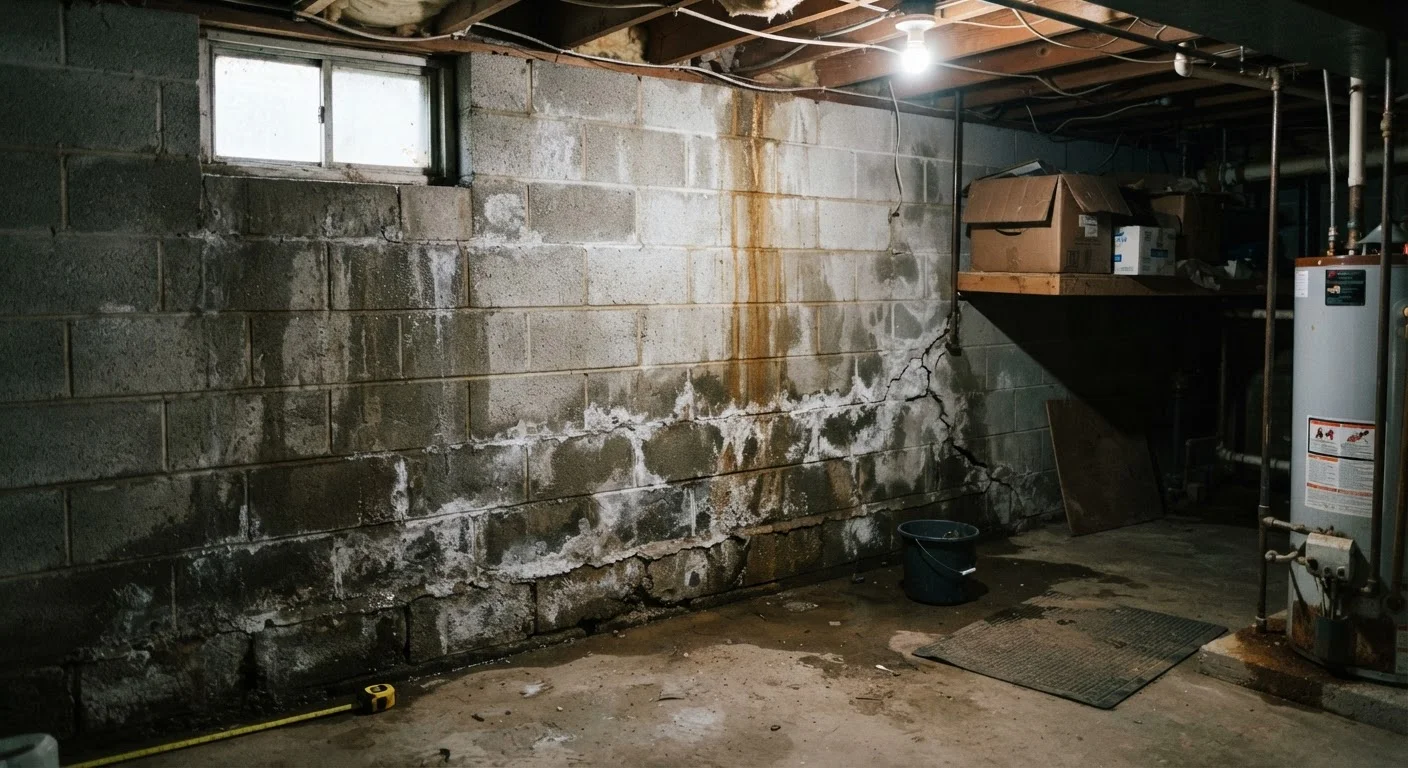
Before touching any insulation, check the attic for signs that another problem needs attention first. Active roof leaks, deteriorated sheathing, and blocked or damaged soffit vents should be addressed before new insulation goes in. Insulating over a moisture problem traps damage and makes it worse. See roof inspection basics for what to look for before starting an insulation project.
Permits are not always required for insulation work, but requirements vary by jurisdiction. Some municipalities require permits for blown-in work above a certain R-value increase, for conditioned attic conversions, or when spray foam is used. Call your local building department before starting rather than assuming no permit is needed.
Personal protective equipment for attic insulation work includes an N95 respirator (not just a dust mask), safety glasses, long sleeves, gloves, and ideally a disposable coverall. Attic temperatures can reach dangerous levels in summer; plan work for early morning or cooler weather, bring water, and never work alone.
Finally, watch every step. Attic floor joists are not designed to support body weight between them. Step only on joists or lay down boards to walk on, and never walk on the drywall ceiling below.