
Why grout and tile maintenance matters
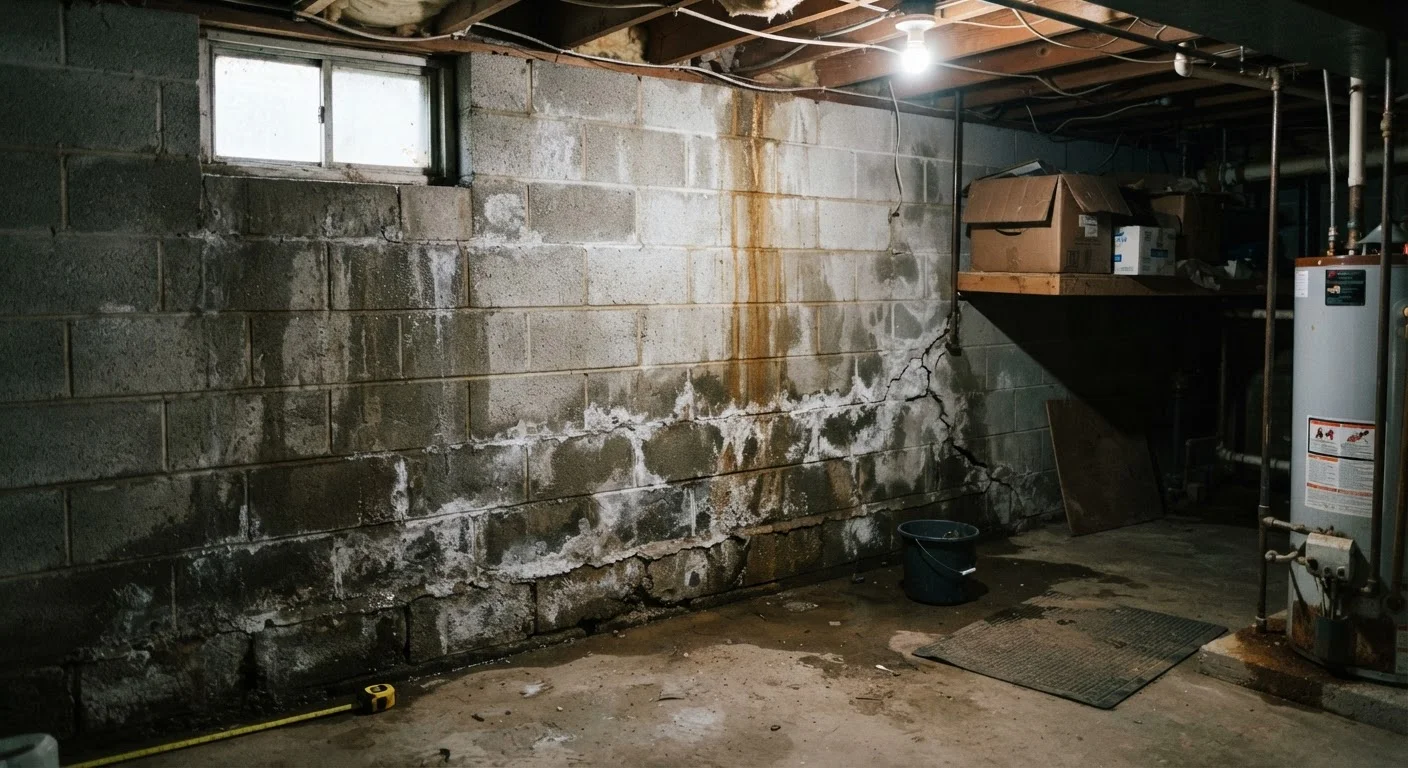
Grout is porous by nature. Without periodic attention, water works into the joints, softens the substrate behind the tile, and creates conditions for mold growth. In a shower or tub surround, this process can be invisible for months until a tile loosens or a wall feels soft to the touch.
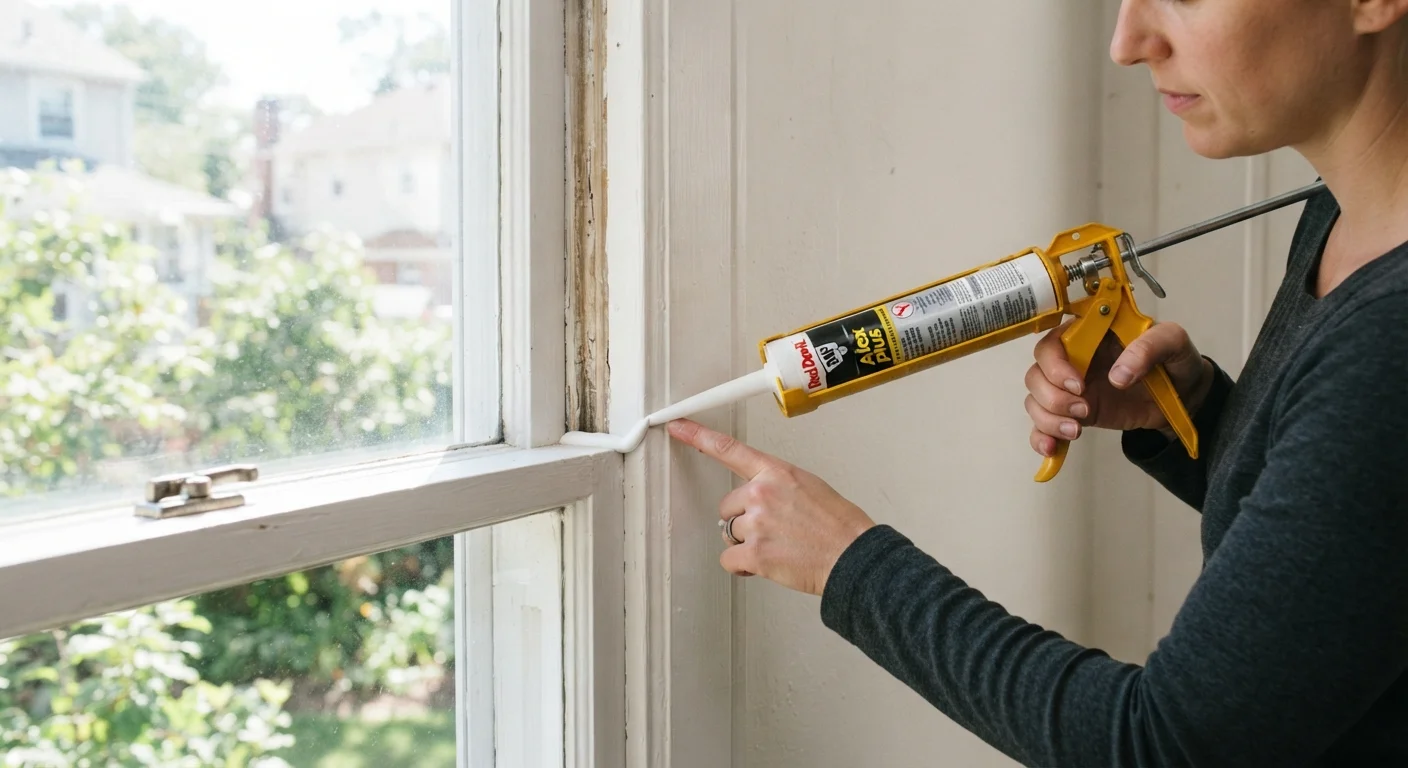
The good news is that the materials and tools needed for routine grout upkeep are inexpensive, and most repairs take less than a morning. This guide covers inspection, cleaning, spot regrouting, and sealing. For issues involving flexible joints at corners or where tile meets a tub edge, see the guide to caulking and sealing, since those gaps need caulk rather than grout.
If tile and grout maintenance is one of several deferred tasks, the home maintenance budget priority guide can help you sequence what to tackle first based on damage risk.
What you will need
What you will need
Gather the following before starting so you are not stopping mid-task.
Grout saw or oscillating multi-tool with grout blade
Removes old or damaged grout from joints without cracking surrounding tiles.
Sanded or unsanded grout (matched to existing)
Fills joints after old grout is removed; sanded grout is used for joints wider than 1/8 inch.
Grout float
Pushes new grout into joints evenly and smoothly.
Grout sealer
Applied after grout cures to prevent water absorption and staining.
Stiff nylon brush or grout brush
Scrubs existing grout lines during the cleaning step.
Sponge and bucket of clean water
Wipes excess grout from tile faces during application.
Painter's tape
Protects tub edges or fixture bases from grout sealer during the sealing step.
Step-by-step: inspect, clean, repair, and seal
Inspect the grout lines and tile surface
Work in good light. Run your finger along every grout line and press gently on each tile. Look for cracks, gaps, missing sections, and grout that feels soft or crumbles under light pressure. Pay close attention to horizontal lines at the base of a shower wall and the joint where tile meets the tub or pan floor; these spots bear the most water exposure.
Mark problem areas with a small piece of painter's tape so you can find them easily once you have your tools ready.
Clean the grout before deciding on repairs
Mix a solution of one part white vinegar to one part warm water in a spray bottle. Spray the grout lines, let it sit for five minutes, then scrub with a stiff nylon brush. Rinse thoroughly with clean water. For heavy soap scum or mineral deposits, a paste of baking soda applied with the brush works well before the vinegar rinse.
Allow the grout to dry completely before evaluating what genuinely needs repair versus what was just stained. Many lines that appear cracked are simply darkened with buildup.
Remove damaged grout
Use a grout saw or an oscillating multi-tool fitted with a grout blade to cut out cracked, crumbling, or hollow-sounding grout. Work carefully along the joint without tilting the tool into the tile edge. Aim to remove grout to a depth of at least 1/8 inch so the new material has enough room to bond properly.
Vacuum or brush out all dust and loose debris from the joints before continuing.
Apply new grout
Mix your grout according to the package directions until it reaches a peanut butter consistency. Dampen the joints lightly with a sponge (do not soak them). Hold the grout float at a 45-degree angle and press grout firmly into the joints, working diagonally across the lines so the float does not dig into the joints as it passes.
Once joints are filled, wipe the tile faces with a damp sponge in a circular motion. Rinse the sponge frequently and change the water often. A thin haze will remain on the tile surface; this polishes off easily once the grout has cured for about 30 minutes.
Let the grout cure fully before sealing
Fresh grout needs time to cure before sealer is applied. Most products require 48 to 72 hours of dry time, though you should follow the instructions on your specific grout package. Keep the area dry during this period and avoid scrubbing the new joints.
Seal the grout
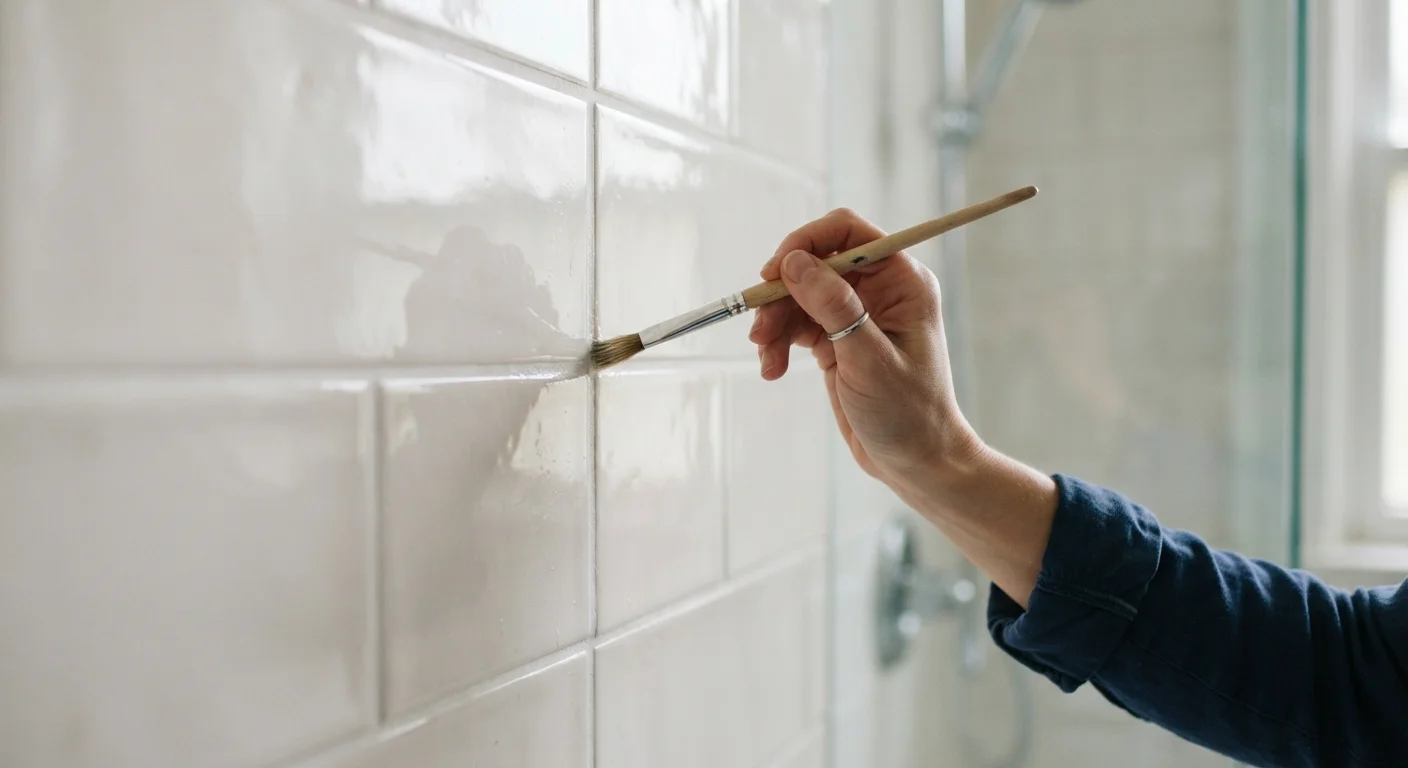
Apply grout sealer with a small applicator brush or a foam roller designed for this purpose. Work one section at a time, running the sealer along each joint without flooding the tile surface. Wipe any sealer off tile faces immediately with a clean cloth before it dries.
Allow the first coat to absorb for 10 minutes, then apply a second coat in the same way. Buff off any residue with a dry cloth once both coats are in place. Plan to reseal grout in high-moisture areas roughly once a year. For additional sealing guidance in related areas of your home, caulking and weatherstripping basics covers the materials that handle corners and flexible joints where grout cannot go.
Common problems and what they signal
A few specific signs are worth knowing before you start probing around your tile surfaces.
- Discolored grout: Usually surface-level mildew or mineral deposit buildup. Cleaning and sealing resolves this in most cases.
- Hairline cracks along the center of a grout line: The grout has dried out or the substrate has shifted slightly. This is normal over time. Re-grout the affected sections and seal.
- Crumbling or missing grout: Water has likely already reached the substrate. Inspect the wall behind for soft spots before grouting.
- A tile that moves or sounds hollow when tapped: The tile has lost adhesion. This goes beyond routine grout work. A professional tile installer should assess whether the tile and surrounding area need to be reset.
- Persistent musty smell near a tiled wall: Mold may be present behind the tile. Do not simply regrout over this; the source needs to be identified and the affected material removed before new grout goes in.
For a broader look at where moisture-related problems tend to start, the overlooked home maintenance areas article covers spots many homeowners miss until damage is already underway. And if you want to understand what causes tile work to fail from the start, why bathroom tile work goes wrong is a practical reference.