
Why water heater maintenance matters
A standard tank water heater holds 40 to 80 gallons and runs nearly every day of the year. Sediment from minerals in tap water collects at the bottom of the tank over time, forming an insulating layer between the burner or heating element and the water. That buildup forces the heater to work harder, raises energy bills, and can cause the tank to overheat and corrode from the inside. Annual maintenance addresses these issues before they become expensive problems. For a broader look at how preventive care saves money across the home, see our guide to prioritizing home maintenance on a budget.
Most tank heaters last 8 to 12 years. Consistent maintenance can push a unit toward the upper end of that range. Skipping it tends to shorten service life and lead to sudden failures, often at the worst possible time.
Set the thermostat to 120 degrees Fahrenheit
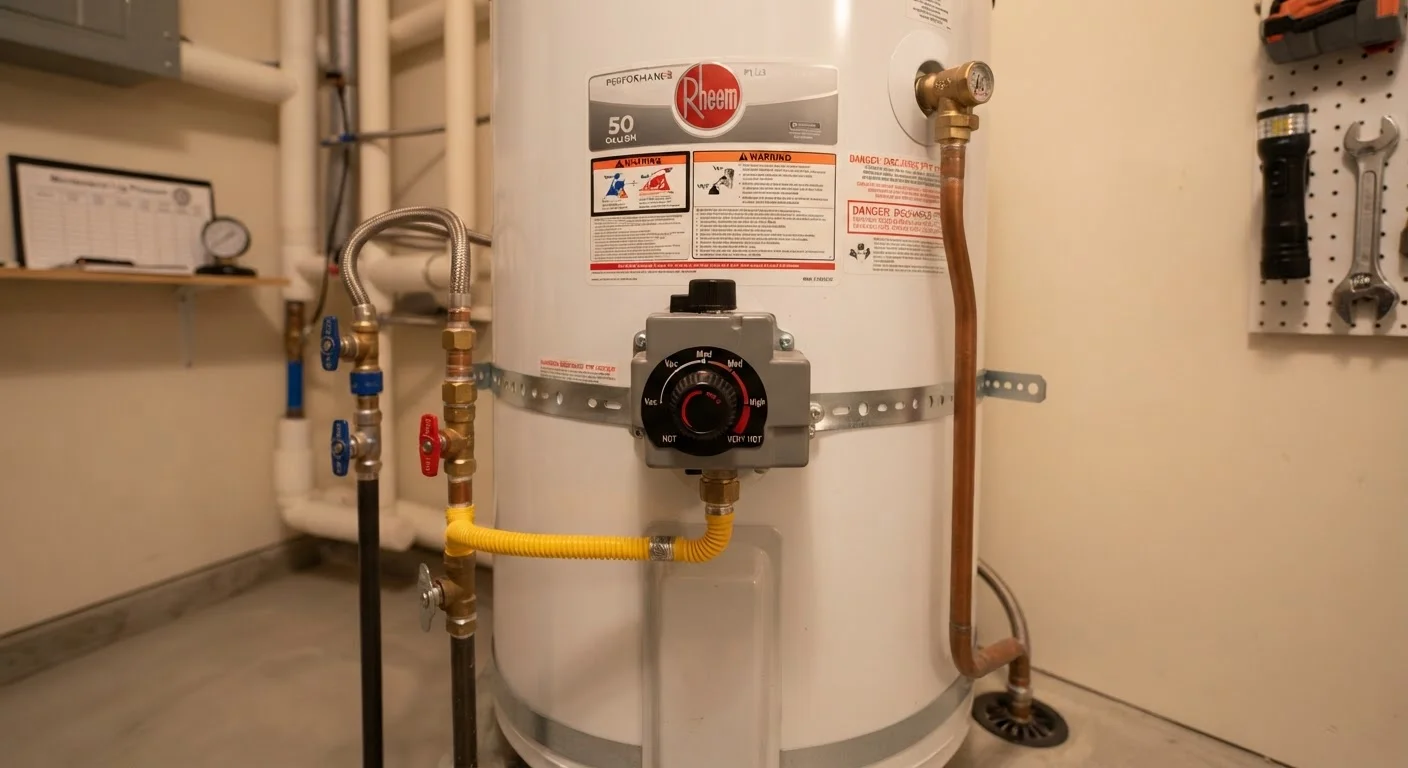
Most manufacturers and plumbing guidelines recommend 120 degrees F as the default setting. This temperature is hot enough to prevent bacterial growth while reducing scalding risk and energy use. If your heater has only a dial marked 'hot' and 'warm', ask a plumber to help you calibrate it accurately.
What you will need
Before starting, gather your tools and confirm the prerequisites below. Having everything on hand avoids interruptions once the tank is draining.
Garden hose
Connects to the drain valve so sediment-laden water can be directed safely outside or to a floor drain.
Flat-head screwdriver
Operates the drain valve and T&P valve lever on most standard tank heaters.
Anode rod socket (1-1/16 inch)
Removes the anode rod hex head from the top of the tank.
Breaker bar or impact wrench
Provides the torque needed to break loose a tightly seated anode rod.
Plumber's tape (PTFE tape)
Seals the threads when reinstalling the anode rod to prevent slow leaks.
Large bucket
Catches water during the T&P valve test if a hose is not already attached to the valve.
Work gloves
Protects hands from hot surfaces and sharp pipe fittings during maintenance.
What you will need
If you have questions about which tasks cross into professional territory, the reasoning is similar to what applies to vehicles: some jobs are straightforward for a careful DIYer, while others carry real safety risk. Our guide to DIY versus professional repair explains how to draw that line, and the same logic applies at home.
Step-by-step maintenance procedure
Work through these steps in order. Do not skip the power shutoff step, and give the water enough time to cool before you begin draining.
Turn off power or gas to the heater
For an electric water heater, switch the dedicated circuit breaker to the off position. For a gas unit, turn the thermostat knob to the pilot setting rather than fully shutting off the gas, unless you are doing work that requires a full shutoff. Allow the water inside the tank to cool for at least an hour before draining it to reduce scalding risk.
Connect a hose to the drain valve
The drain valve sits near the bottom of the tank and looks similar to an outdoor hose bib. Thread a standard garden hose onto it and run the other end to a floor drain, driveway, or landscaped area away from plants, as the water can be quite hot and mineral-laden. Avoid discharging into a septic system in large volumes.
Open the drain valve and flush sediment
Shut off the cold water inlet valve at the top of the heater, then open the drain valve. Open a hot water faucet somewhere in the house to allow air into the system and speed drainage. Once the tank is empty, briefly open the cold water inlet again for 30 to 60 seconds to stir up any remaining sediment and flush it out. Repeat until the water runs clear.
Test the temperature and pressure relief valve
The T&P valve is typically located on the side of the tank with a small lever and a discharge pipe pointing downward. Lift or press the lever briefly to release a short burst of water, then let it snap back. If water flows freely and stops cleanly, the valve is working. If it continues to drip or does not open at all, replace it before returning the heater to service.
Inspect and replace the anode rod if needed
The anode rod is a metal rod, usually magnesium or aluminum, that corrodes slowly to protect the tank lining. Locate it at the top of the tank (sometimes under a plastic cap or sheet metal cover). Use a 1-1/16-inch socket and a breaker bar to unscrew it. If the rod is less than half an inch thick, coated in white calcium deposits, or missing sections, replace it. Wrap the new rod's threads with PTFE tape before reinstalling, and torque it snugly.
Refill the tank and restore power
Close the drain valve, remove the garden hose, and reopen the cold water inlet. Keep a hot water faucet open inside the house until water flows steadily from it, which tells you the tank is full and air has been purged. Then close that faucet and restore power at the breaker or return the gas thermostat to your preferred temperature setting. Allow 30 to 60 minutes for the water to fully reheat before use.
Never ignore a leaking pressure relief valve
The temperature and pressure (T&P) relief valve is a critical safety device. If it drips continuously or fails to reseat after testing, replace it before using the heater again. A failed T&P valve can allow dangerous pressure to build inside the tank. Contact a licensed plumber if you are unsure how to replace it safely.
Early warning signs to watch for
Between maintenance sessions, a few symptoms can signal that your heater needs attention sooner than the annual schedule.
- Rusty or discolored water at hot taps points to internal tank corrosion or a depleted anode rod. Address it promptly; a rusting tank rarely recovers.
- Rumbling or popping sounds during heating cycles mean sediment has hardened enough to trap steam pockets. A thorough flush often reduces this, though heavy buildup in older tanks sometimes cannot be cleared.
- Inconsistent water temperature or noticeably longer recovery times suggest a failing heating element (electric) or burner issue (gas). Both require professional diagnosis.
- Water pooling around the base of the tank, not from a fitting or the drain valve, usually means the tank itself is leaking. At that point, replacement is almost always the correct path.
For plumbing issues that go beyond the water heater, common plumbing myths homeowners believe covers several misconceptions that can lead to bigger problems if left unchecked.