
Why outdoor pipes are the first to freeze
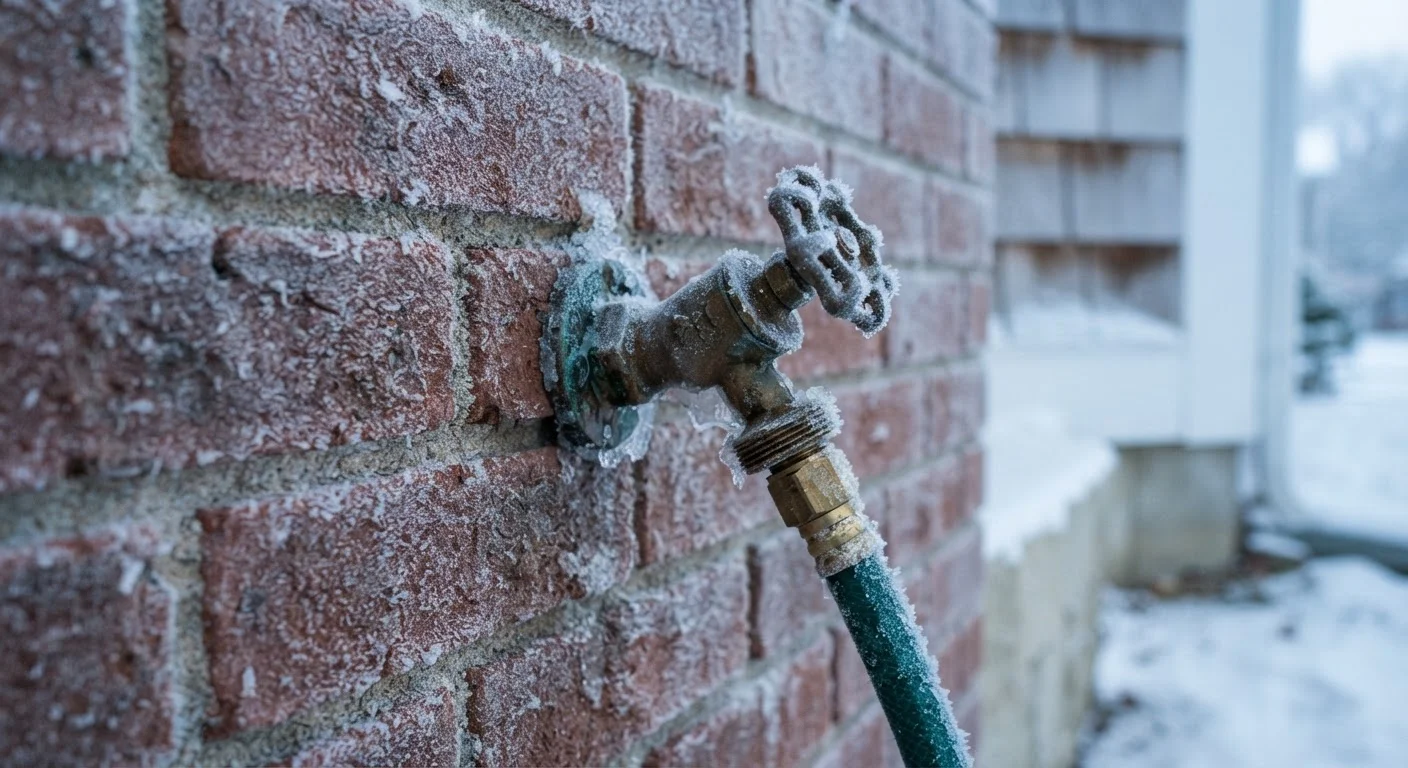
Water expands by roughly 9 percent when it freezes. Inside a rigid pipe, that expansion has nowhere to go, so pressure builds until the pipe or a nearby joint fails. Outdoor faucets and the short sections of pipe leading to them are exposed to air on at least one side, which means they lose heat faster than interior plumbing.
The damage does not always appear immediately. A pipe can crack during a cold night and then leak only after temperatures rise and the ice inside thaws. By that point, water may have been running inside a wall for hours. This is one of those home maintenance tasks where a small amount of prevention saves a disproportionately large repair bill. For a broader look at which maintenance jobs deserve budget priority, see this guide to prioritizing home maintenance.
The outdoor faucet (also called a hose bib or sillcock) is the most common failure point. Garden hoses left attached make things worse: they trap water in the faucet body and prevent it from draining even on models designed to be self-draining.
What you need before you start
What you will need
Flathead screwdriver
Opens the bleeder cap on shutoff valves to release residual water from the line.
Foam faucet cover (bib insulator)
Fits over the outdoor spigot to slow heat loss and protect against wind chill.
Foam pipe insulation tubes
Wraps exposed pipe runs in unheated spaces to reduce freeze risk.
Small container or rag
Catches water released when opening the bleeder cap on the shutoff valve.
Marker or label tape
Labels interior shutoff valves so you can identify them quickly in future seasons.
Before touching anything, locate every outdoor faucet on your home's exterior. Walk the perimeter and note each one. Then find the corresponding interior shutoff valves. These are usually on a pipe coming out of the wall near where the faucet is mounted, in a basement, utility room, or crawl space. If your home was built with frost-free sillcocks and no separate shutoff, you will still need access to the valve inside the faucet handle itself.
If you cannot identify which interior valve controls which faucet, turn the faucet on outside and then close valves one at a time indoors until the water stops. Label each valve with a marker once you identify it.
Step-by-step: shutting down outdoor faucets
Work through each outdoor faucet in turn. Do not skip any, including spigots on detached garages, sheds, or irrigation connections at the foundation.
Disconnect and store all garden hoses
Unscrew every garden hose from every outdoor faucet. Drain any water remaining in each hose by holding one end up and walking the length of it, then store hoses in a garage or shed where they will not freeze and crack.
Close the interior shutoff valve
Go inside and turn the shutoff valve for each outdoor faucet to the fully closed position. Ball valves close with a quarter-turn so the handle is perpendicular to the pipe. Gate valves (older, round-handled) close by turning clockwise until they stop.
Open the outdoor faucet to drain remaining water
Go back outside and open the faucet handle all the way. Water trapped between the shutoff valve and the spigot will drain out. Leave the faucet handle in the open position until all dripping stops, which usually takes a minute or two.
Drain the bleeder cap (if present)
Many shutoff valves have a small bleeder cap on the side, a brass fitting with a slot for a flathead screwdriver. Place a rag or small container underneath it, then unscrew the cap slightly to release any residual water. Retighten once dripping stops.
Close the outdoor faucet handle
Once the line is fully drained, close the outdoor faucet handle. This keeps debris, insects, and cold air from entering the faucet body over the winter.
Install an insulating faucet cover
Fit a foam faucet cover (also called a bib cover or hose bib insulator) over each exterior spigot. These press over the faucet and are held in place by a built-in strap or the faucet handle itself. They are inexpensive and add meaningful protection against short cold spells and wind chill.
Once every outdoor faucet is shut off, drained, and covered, check the area around any exposed pipe inside the home where it passes through an unheated space. Insulating those short runs with foam pipe insulation (pre-split tubes available at hardware stores) adds another layer of protection at low cost.
While you are doing fall exterior work, a fall yard prep checklist covers other tasks that pair well with this job, such as draining irrigation systems and storing hoses properly.
Common mistakes and how to avoid them
Leaving a garden hose connected is the single most common error. Even a frost-free sillcock cannot drain if a hose is attached because the hose holds water back against the drain port inside the faucet. Remove every hose and store it indoors or in an insulated area.
Another frequent mistake is relying solely on a faucet cover without closing the interior shutoff. Covers slow heat loss but they cannot stop freezing indefinitely if cold air is sustained. The interior valve is the primary protection; the cover is secondary.
Some homeowners assume that because their pipes survived past winters without any preparation, no action is needed. Weather varies year to year, and an unusually prolonged cold snap can freeze pipes that have never caused trouble before. There are several plumbing myths that give homeowners false confidence, and this is one of them.
Finally, do not forget spigots on exterior walls that face north or are shaded. These are colder on average and freeze sooner than south-facing or sun-exposed faucets.