
Why wood floors need more than occasional sweeping
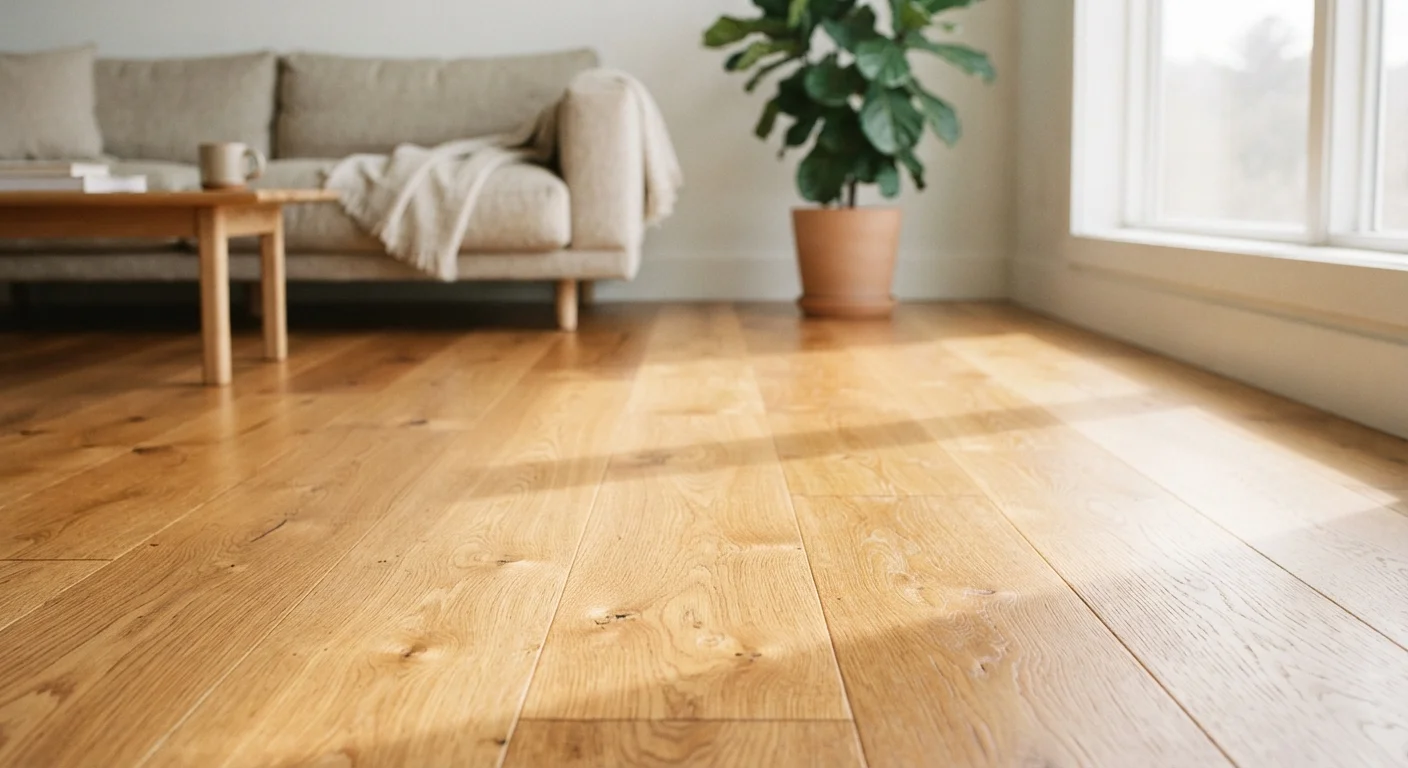
Hardwood floors are durable, but they are not indestructible. The finish coating that sits on top of the wood is what gives floors their sheen and protects the wood beneath from moisture, grit, and staining. Once that finish degrades, the wood itself absorbs damage quickly. Most homeowners unknowingly accelerate that process with habits that seem perfectly reasonable: mopping with a soaking-wet mop, spraying all-purpose cleaner directly on the boards, or letting spills sit for a few minutes too long.
Understanding what a wood floor actually is, a porous natural material under a thin protective layer, changes how you approach its care. Routine maintenance is about protecting the finish first and cleaning the wood second.
For context on how consistent habits prevent expensive repairs across the home, see our guide on prioritizing home maintenance tasks.
The right way to clean wood floors daily and weekly
Daily care for hardwood floors means one thing above all else: removing grit. Fine sand, dirt, and debris act like sandpaper underfoot and wear through finish over months. A dry microfiber dust mop is the most effective tool for this. It traps particles rather than scattering them, and it covers ground quickly.
Avoid vacuum cleaners with a beater-bar attachment, since that rotating brush can mar the surface. A vacuum on a bare-floor setting with a felt or rubber bumper is fine for weekly use.
For deeper cleaning, use a damp mop, not a wet one. Wring the mop until it feels almost dry to the touch. Standing water and even light pooling can seep into seams between boards and cause swelling or cupping over time. Use a cleaner labeled safe for finished hardwood and pH-neutral. Products designed for other floor types, including vinegar-based solutions, can dull or strip polyurethane finish with repeated use.
Blot spills right away
Even water left standing for a few minutes can seep into seams and begin to raise the grain underneath. Keep a dry microfiber cloth nearby in the kitchen and dining area. Blot rather than wipe to avoid spreading the liquid.
Spills should be blotted immediately with a dry or barely damp cloth. Never let liquid sit on wood floors, even for a short time.
Preventing scratches and surface damage
Most visible scratches on hardwood come from two sources: furniture movement and foot traffic carrying grit from outdoors. Both are preventable.
Apply self-adhesive felt pads to the legs of every piece of furniture that contacts the floor, including chairs that get pulled out frequently. Check pads every few months because they compress and fall off. Hard plastic or metal glides on chairs are a common source of fine scratches that accumulate over time.
Place a durable mat just inside every exterior door. This step alone catches the sand and small stones that do the most finish damage. Area rugs in high-traffic zones like hallways add another layer of protection, but use rug pads that are rated safe for hardwood underneath, since some rubber backings can trap moisture or discolor the finish.
Pet nails are another common culprit. Keeping nails trimmed reduces the risk of deep scratches significantly.
The same logic of preventing surface wear through small consistent habits applies to other surfaces in the home. Our article on grout and tile upkeep covers a similar approach for tile and stone surfaces.
Managing moisture and humidity year-round
Wood is hygroscopic, meaning it absorbs and releases moisture based on the surrounding air. When indoor humidity swings widely, boards expand and contract. Repeated cycles of this movement can cause gaps in winter, cupping in summer, and eventually cracking at the finish.
Maintaining indoor relative humidity between 35 and 55 percent keeps wood movement within a stable range. A basic hygrometer, an inexpensive device that measures humidity, can tell you where your home sits. In dry climates or during winter heating season, a whole-home or room humidifier helps. In humid regions or during summer months, air conditioning and dehumidifiers bring levels down.
Never place potted plants directly on hardwood without a waterproof saucer underneath. Condensation and overwatering routinely cause localized dark staining or soft spots in the wood beneath.
Use a microfiber dust mop for daily dry cleaning rather than a broom.
Brooms can scatter fine grit and push debris into seams. Microfiber traps particles and removes them in one pass, reducing abrasive wear on the finish.
Wring the mop nearly dry before it contacts the floor surface.
Excess water is the most common cause of swelling, cupping, and finish cloudiness on hardwood. A barely damp mop cleans effectively without introducing moisture risk.
Apply felt pads to all furniture legs and inspect them every few months.
Compressed or missing felt pads leave bare metal or plastic in direct contact with the finish, creating fine scratches that accumulate into visible wear patterns.
Keep indoor humidity between 35 and 55 percent throughout the year.
Wide humidity swings cause the wood to expand and contract repeatedly, eventually leading to gaps, cupping, or cracked finish that requires professional repair.
Place waterproof mats at all entry points and use hardwood-safe rug pads under area rugs.
Entry points concentrate the grit and moisture that cause most finish damage. Some rug pad materials trap moisture or chemically react with floor finish over time.
When to refinish and what to do in the meantime
Refinishing a hardwood floor, which involves sanding down the surface and applying new finish coats, is a significant project. Most solid hardwood floors can be refinished several times over their life, but it is not something that needs to happen on a fixed schedule. The right time is when the finish, not the wood, is visibly worn: dull patches that do not respond to cleaning, areas where the wood looks gray or feels rough, or finish that has worn through entirely in heavy-traffic spots.
Between refinishing cycles, a process called screen-and-recoat can extend the life of the finish without the cost and disruption of a full sand. A flooring professional lightly abrades the existing finish and applies a fresh topcoat. This is often sufficient when finish is dull but still intact.
For minor surface scratches, a hardwood floor touch-up marker or a small amount of finish applied with a cloth can mask light damage. Deep gouges or areas where finish has worn through to raw wood usually need professional assessment before water infiltration causes further damage.
Consistent preventive care reduces how often any of these interventions become necessary, much like exterior surface care prevents more serious damage to a home's outside materials.