
What you need before you start
Checking your car's fluids is one of the most practical things you can do as a vehicle owner. It costs nothing beyond a few minutes and a clean rag, and it can flag problems before they become expensive repairs. For context on how fluid checks fit into broader maintenance, see our car maintenance intervals reference.
Park on a level surface and let the engine cool for at least 10 minutes before opening the hood. Checking fluids on a hot engine can give inaccurate readings and carries a burn risk, particularly with coolant.
What you will need
Clean rag or paper towels
Used to wipe dipsticks clean before getting an accurate fluid reading.
Flashlight
Helps you see fluid levels clearly in poorly lit engine bays.
Owner's manual
Identifies correct fluid types and reservoir locations specific to your vehicle.
Funnel
Prevents spills when topping off narrow-necked reservoirs like power steering or coolant.
How to check each fluid
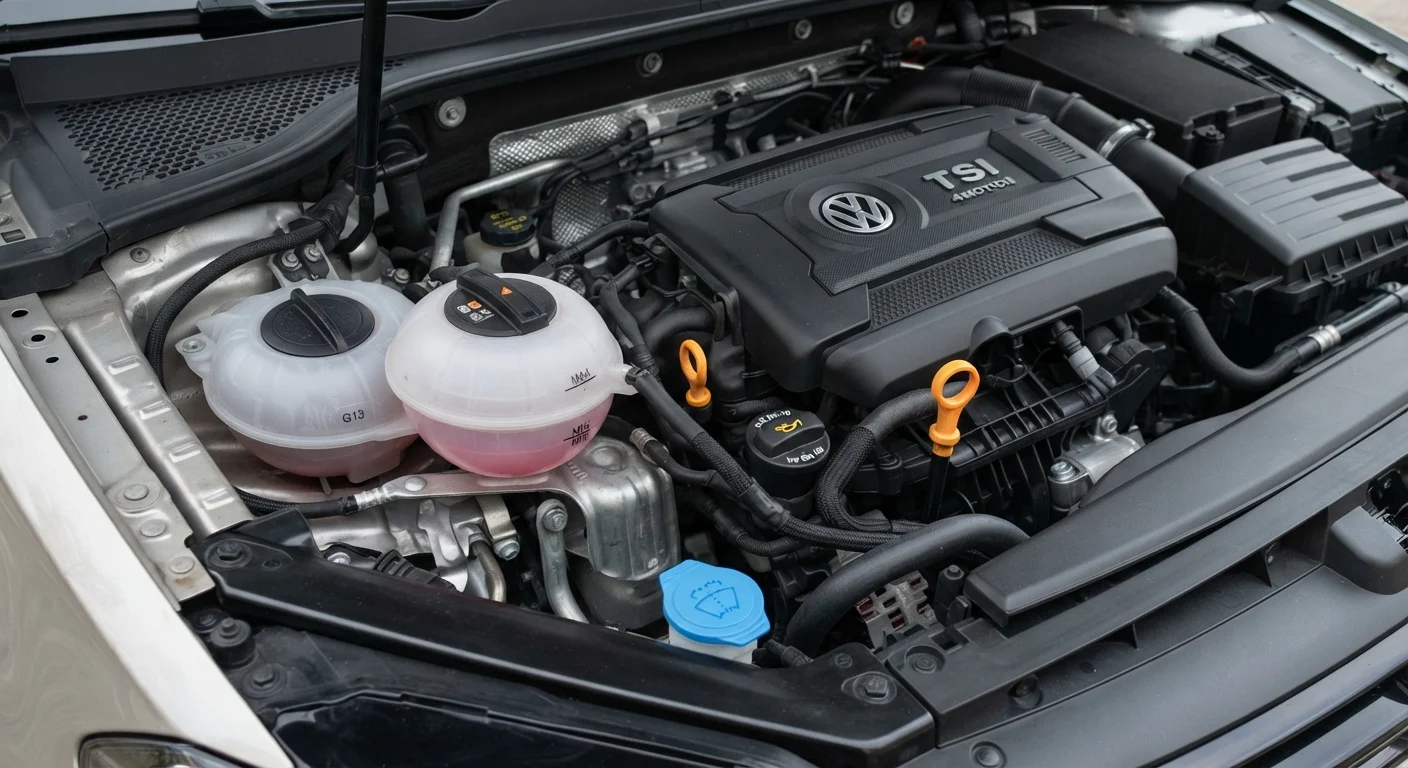
Modern vehicles keep all major fluid reservoirs under the hood, each labeled with an icon or text. If you are unsure which cap is which, consult your owner's manual before opening anything. Using the wrong fluid, or opening the wrong reservoir, can cause real damage.
Check the engine oil
Locate the oil dipstick, usually a brightly colored handle near the front of the engine. Pull it out, wipe it clean with your rag, reinsert it fully, then pull it out again. The oil level should sit between the two marks labeled MIN and MAX (or L and H). Healthy oil is amber to light brown. Black, gritty, or milky oil signals it is overdue for a change or has a more serious problem.
Check the coolant level
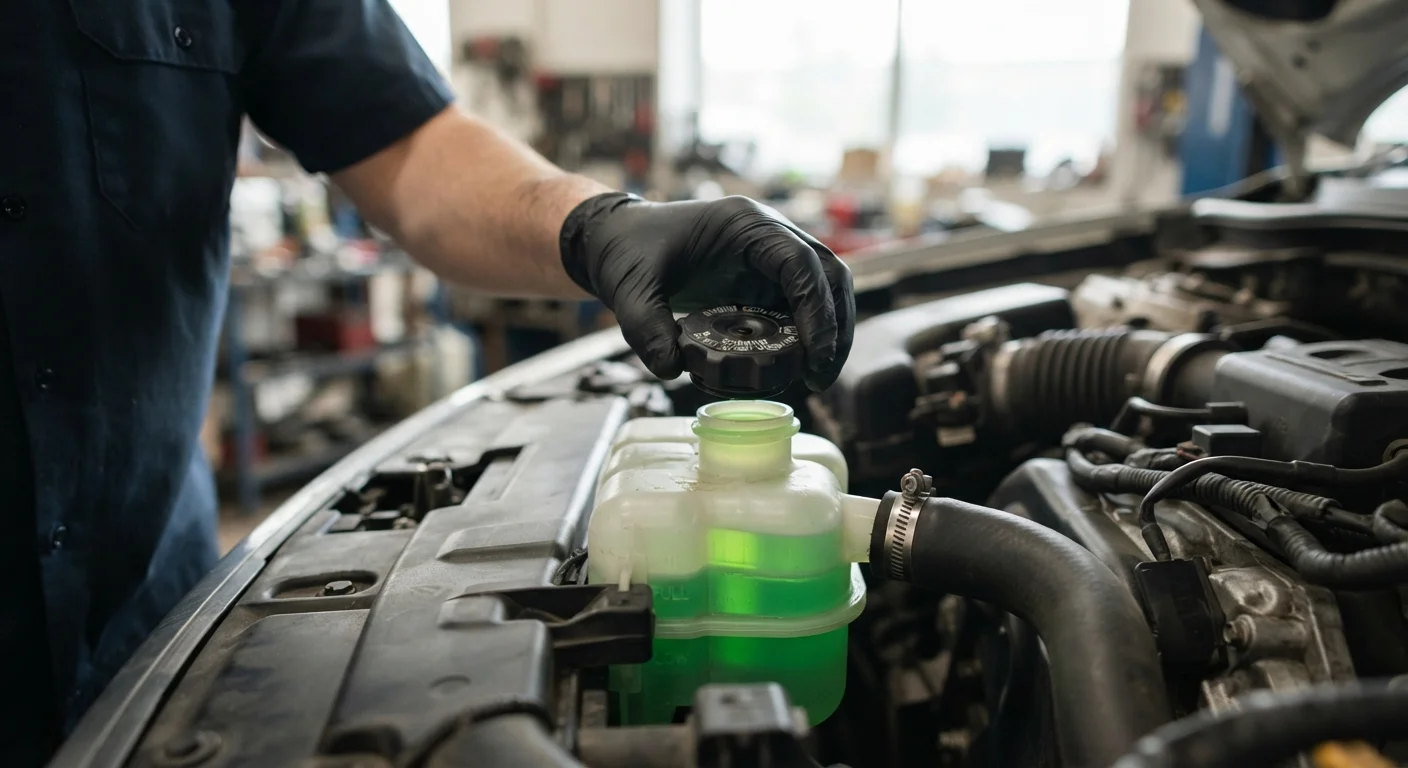
Find the translucent plastic coolant reservoir, which is connected to the radiator by a hose. You can read the level through the reservoir wall without opening it. The fluid should sit between the MIN and MAX lines when cold. Coolant should be bright green, orange, or pink depending on the type your vehicle uses. A low level that keeps recurring can point to a slow leak.
Check the brake fluid
The brake fluid reservoir sits on top of the brake master cylinder, usually near the back of the engine bay on the driver's side. It is a small plastic container with a cap marked with a brake symbol. Check the level against the MIN and MAX lines on the side of the reservoir. Brake fluid should be clear to light yellow. Dark brown fluid is a sign of moisture contamination and the fluid should be replaced.
Check the transmission fluid
Many automatic transmissions have a dipstick similar to the oil dipstick; some newer vehicles have sealed transmissions with no dipstick at all. If your vehicle has a transmission dipstick, check it the same way as the oil dipstick, but with the engine warm and running (follow your manual's specific instructions, as this step differs by vehicle). Healthy transmission fluid is red to pink. Brown or burnt-smelling fluid needs attention.
Check the windshield washer fluid
The washer fluid reservoir is typically a blue-capped container. Unlike other fluids on this list, it has no bearing on mechanical function, but running dry while driving can create a visibility hazard. Top it off with premixed washer fluid rated for your climate. In cold regions, use a fluid with an appropriate freeze rating.
For a full walk-through of what to inspect before a long drive, including fluid levels, see our pre-trip vehicle safety checklist.
Reading the results and knowing when to act
A fluid that is low but clean usually just needs a top-off with the correct type specified in your owner's manual. A fluid that is at the right level but looks dark, milky, or has debris in it points to a different problem: contamination or internal wear that topping off will not fix.
Brake fluid deserves special attention. Because it operates in a closed system, it should not go low on its own. A noticeably low brake fluid reservoir can indicate pad wear (normal) or a leak (not normal). If the level drops quickly or the fluid looks dark brown, have a qualified mechanic inspect the system before driving further. Our article on DIY car maintenance vs. taking it to a mechanic covers which tasks are safe to handle yourself and which are better left to a professional.
Never ignore a brake fluid drop
Brake fluid operates in a sealed system and should not decrease measurably over time. If you notice the level has dropped significantly, do not assume topping it off solves the problem. Have a qualified mechanic inspect the brakes before driving the vehicle, as a leak in the hydraulic system can cause brake failure.
Transmission fluid interval guidance varies significantly between vehicles. Some manufacturers specify sealed transmissions with no scheduled change; others list intervals of 30,000 to 60,000 miles. Check your owner's manual rather than relying on general rules. More detail is available in our automatic vs. manual transmission maintenance article.
Engine oil change frequency is another area where outdated advice persists. The old 3,000-mile rule does not apply to most modern engines. Our article on oil change intervals and modern vehicles explains what current engines actually need.