
Why sequence is the difference between finishing once and finishing twice
Most homeowners focus on materials, budgets, and aesthetics when planning a fixer-upper renovation. Sequence gets less attention, and that is where projects go sideways. Paint a wall before the plumber fixes a pipe behind it, and you will be repainting. Install hardwood floors before the HVAC contractor finishes ductwork in the crawl space, and vibration from the work can crack boards and void installation warranties.
The correct order is not arbitrary. It follows a logic: work that affects everything else happens first, finish work that can be scratched or stained happens last. Every trade has its place in that chain, and understanding it lets you coordinate contractors efficiently, schedule inspections on time, and avoid paying twice for the same square foot of wall. See common renovation myths debunked for misconceptions that lead homeowners to skip or reorder steps.
Phase 1: demolition and discovery
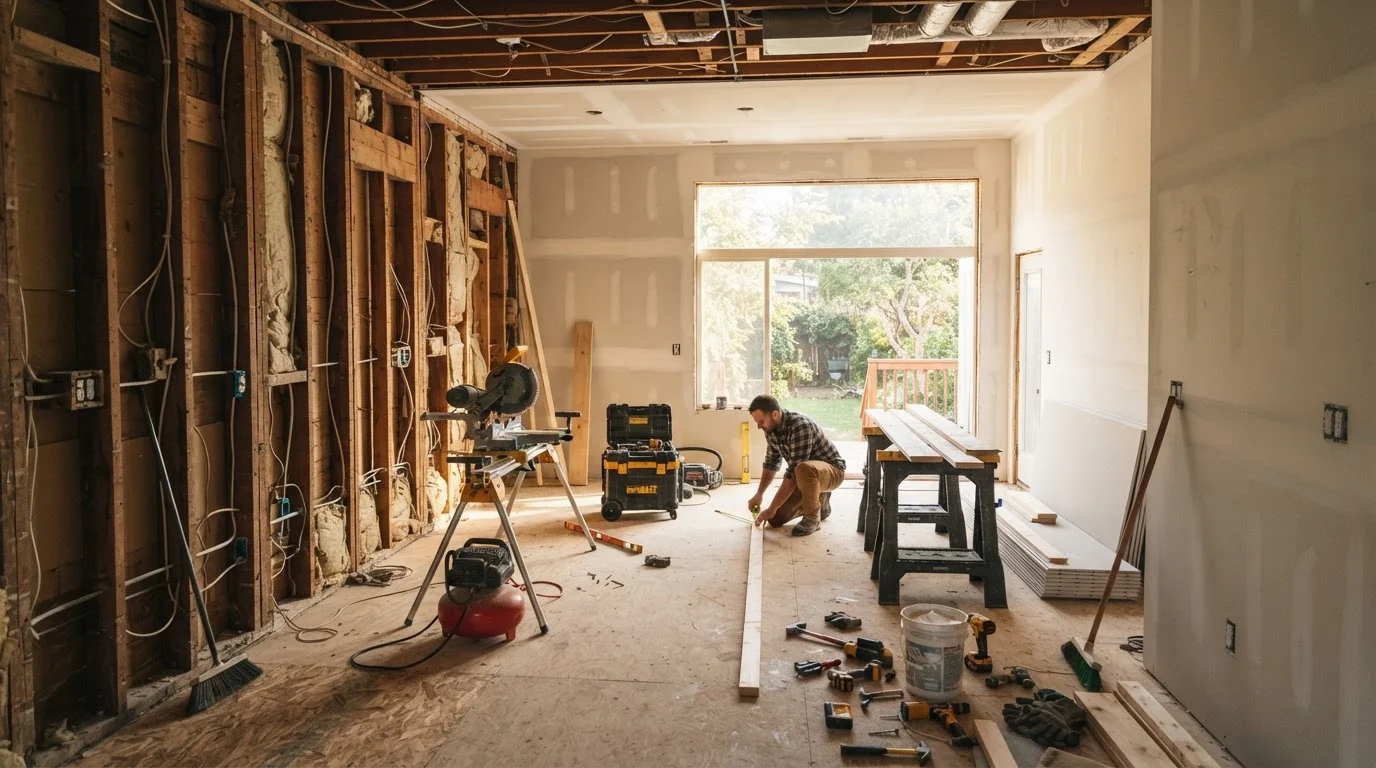
Demolition comes first, but it is not simply tearing things out. It is also your one opportunity to see what is actually inside the walls before you commit to a plan. Open the areas your renovation will affect before ordering materials or signing contracts for finish work.
During demo, photograph every wall cavity before anything is touched. Note the location of wiring, pipes, and any framing irregularities. This is when hidden problems appear: knob-and-tube wiring, galvanized pipes, inadequate insulation, or water-damaged subfloor. Discovering these after drywall is up costs far more to fix. A contingency of 10 to 20 percent of your total budget is a reasonable buffer for what demo reveals, according to general guidance from home renovation professionals.
Hazardous materials such as asbestos and lead paint require professional assessment before demo in homes built before 1980. Do not proceed with demolition in those areas until a qualified inspector has evaluated the space and you have followed any remediation requirements for your area.
Complete all rough-in work before closing any wall, ceiling, or floor cavity.
Plumbing, electrical, and HVAC lines run through the same cavities. Opening a finished wall to add or fix a run costs time and materials that could be avoided entirely. Coordinating all trades in open framing is far more efficient than sequencing them after drywall.
Pull all required permits before work begins, in the order your building department specifies.
Permits are not just paperwork. They trigger inspections that protect you from hidden defects and establish a legal record of compliant work. Starting work without the right permit can require you to demolish finished work so an inspector can see what was covered.
Resolve structural issues before any trade begins rough-in work.
A plumber running drain lines through a joist bay cannot know if those joists will need to be sistered until a structural assessment is complete. Changing framing after rough-in means re-routing pipes and wires.
Keep flooring and finish materials off-site until the drywall phase is completely done.
Drywall dust settles into every surface and can permanently stain unfinished hardwood or scratch tile. Storing finish materials off-site or in a sealed area until the room is dust-free prevents damage and warranty issues.
Sequence tile work before fixture installation in any wet area.
Tile and grout must be set and sealed to form a continuous waterproof barrier at walls and floors. Installing fixtures first leaves gaps and makes it impossible to achieve clean, watertight edges.
Phase 2: rough-in work and inspections
Once demo is complete and the scope is confirmed, structural repairs come before anything else. Sistered joists, replaced beams, or corrected framing must be finished before trades begin their rough-in work.
Rough-in is the phase where plumbers run new supply and drain lines, electricians pull wire and set boxes, and HVAC installers run ducts and equipment. All of this happens while walls, ceilings, and floors are still open. The trades can work in any order among themselves as long as each has clear access, though HVAC ducts often need to go first in tight framing bays because they are the largest and least flexible.
After rough-in, do not close walls until the required inspections pass. A general contractor will typically coordinate these inspections, but if you are managing subcontractors yourself, you are responsible for scheduling them. Covering uninspected work is a code violation in most jurisdictions and can create serious problems when you sell or insure the home.
Phase 3: insulation, drywall, and primer
Insulation goes in after inspections pass and before drywall. In many jurisdictions, insulation also requires its own inspection before it is covered. Confirm your local requirements before scheduling the drywall crew.
Drywall installation and finishing (taping, mudding, sanding) produce enormous amounts of dust. Any cabinets, flooring, or fixtures already in place will be coated. For this reason, drywall work should finish before any finish materials arrive on site. Prime all drywall before painting; skipping primer leads to uneven sheen and color absorption, requiring additional coats of paint.
If you are renovating a kitchen, this is the stage to review your cabinet and appliance measurements against the framed openings. Catching a discrepancy in drywall rather than after cabinets are hung saves significant labor. For a detailed look at kitchen-specific planning at this stage, see the kitchen remodel planning guide.
Phase 4: cabinets, tile, and hard finishes
Cabinets go in before countertops, which go in before backsplash tile, which goes in before the final coat of paint on adjacent walls. Each step depends on the one before it for accurate measurements and clean edges.
Tile work in bathrooms and kitchens precedes fixture installation. Set tile, grout, and seal it before the toilet, vanity, or sink goes back in. Trying to tile around installed fixtures creates gaps and compromises the waterproofing at edges.
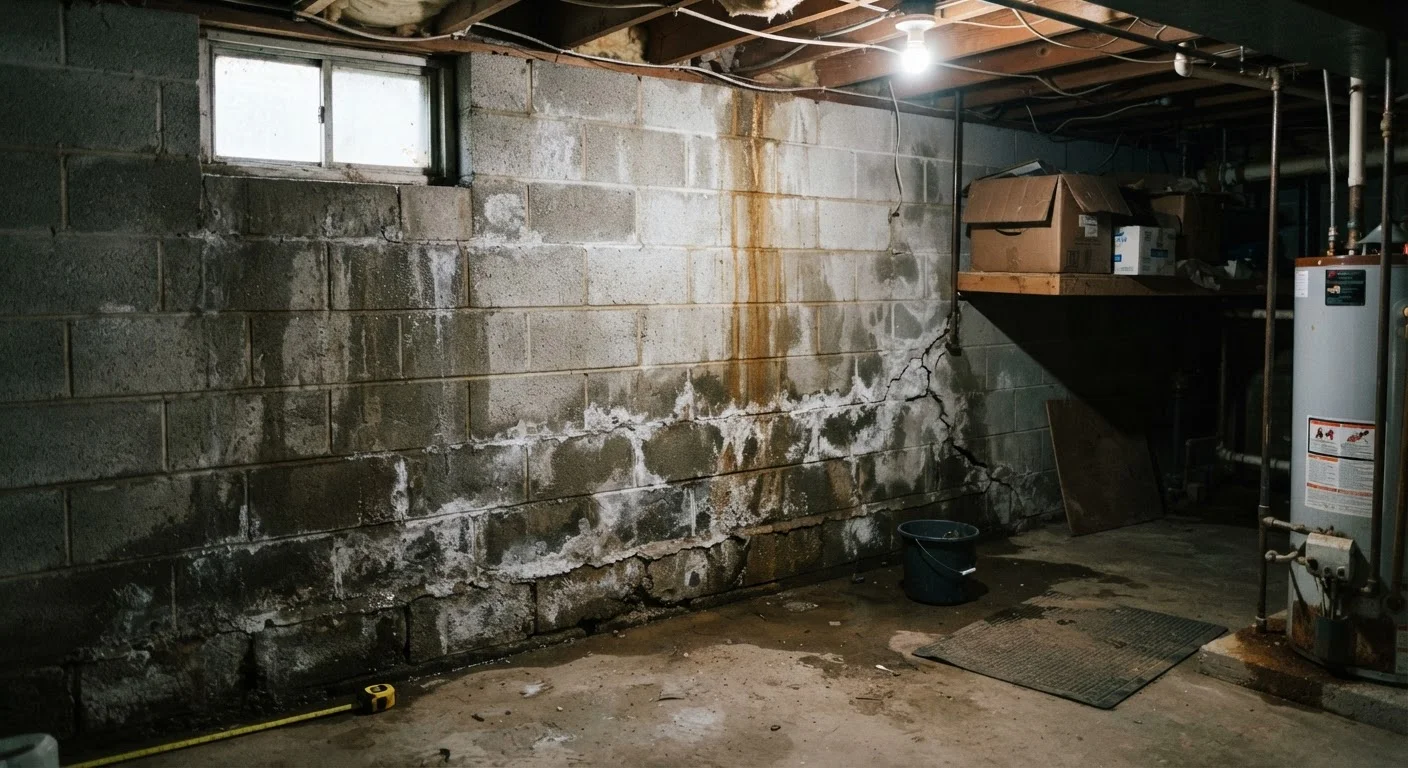
For a basement renovation, the sequencing principles are the same but moisture control must be addressed before any finish materials go in. The basement finishing guide covers that phase in detail.
Phase 5: flooring, painting, and trim
Paint walls before installing trim, and install trim before laying most floor types. This order minimizes the number of surfaces that need touch-ups after another trade works in the space.
Hardwood and engineered wood floors should acclimate to the room's temperature and humidity for the period the manufacturer specifies, typically 48 to 72 hours, before installation. Install flooring before base molding so the molding covers the expansion gap at the perimeter. After flooring is down and base molding is nailed in place, do touch-up painting on the trim and walls.
Interior doors and hardware go in last among the finish carpentry items, so they are not damaged during other work. Outlet covers, switch plates, and light fixtures follow once painting is done and walls are clean. For help thinking through how to live in the home while phases overlap, the guide to staging home improvement projects has practical strategies.